🐧 Linux VPS & Server Configuration
My server runs on Debian Linux, hosted virtually on Linode. That means I have full control over a real Linux installation—just in a virtual machine running on shared hardware. I don’t rent hosting from a company that manages the server for me. Instead, I own the root account and manage the system myself from the ground up.
Since Debian is minimal and stable, it doesn’t include a graphical interface. Everything is managed via the command line. That might seem intimidating, but it gives you total control—and it’s efficient once you get used to it.
🔐 Connecting to the Server
To access the server, I use the Terminal on my Mac and run:
ssh [email protected]
This connects me securely using SSH keys I set up when I created the server. My private key is stored securely on my Mac and unlocked with a passphrase. The public key is installed on the server. This authentication method ensures only I can connect.
Once connected, I’m dropped into a command line environment—Debian Linux—on the server itself. The prompt changes to reflect that I’m now operating as a user on the remote system.
📜 Command History
Linux stores every command you type in its history. This is also true on Mac and Windows terminals. By running:
history
You can review everything you’ve typed. I regularly export this history to a file to back up my workflow. It’s incredibly useful for recreating steps, building documentation, or scripting repeatable tasks. Because of this, I can see exactly what I’ve done on this server since day one.
🧰 Linux Tools & Package Management
Linux is packed with command line utilities. Some basics include:
ls: List filespwd: Show current directorycd: Change directory
But beyond these basics, I use tools like apt to manage packages. For example, installing a web server is as simple as:
sudo apt install apache2
The sudo command elevates your permissions temporarily so you can install or modify system software. Once Apache is installed, I can install and serve a WordPress site.
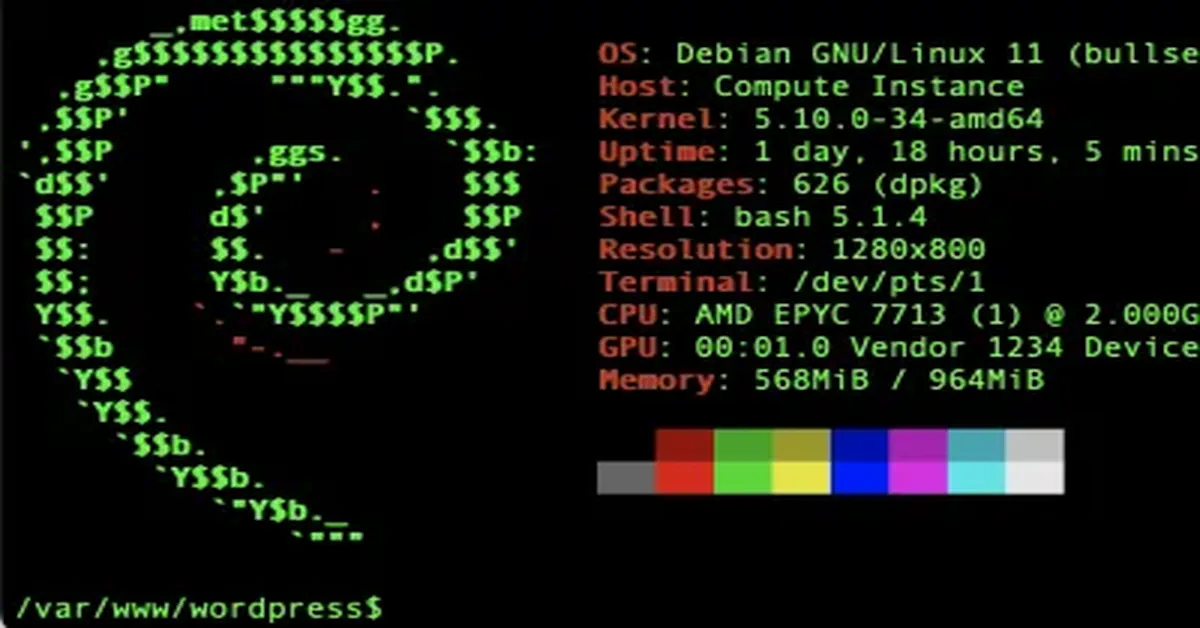
📸 Terminal Snapshot with Neofetch
The featured image on this page is a screenshot of my terminal using neofetch, a system information tool that displays a clean ASCII summary of your system’s specs.
It shows:
- Debian GNU/Linux 11 (soon to be upgraded to 12)
- Kernel version
- Uptime (often many months without reboot)
- Disk usage and hardware stats
I typically reboot only to perform full disk clones for backup or after major upgrades.
🗂️ Day-to-Day File Work
I’ve configured my shell to default into the WordPress folder when I log in, since that’s where most of my development happens—particularly inside my child theme, which overrides the parent theme without altering its core files.
🔧 Ongoing Maintenance
A self-managed VPS isn’t fire-and-forget. I regularly:
- Install system updates (
sudo apt upgrade) - Manage software versions (like upgrading PHP)
- Run disk usage audits:
sudo find / -type f -exec du -h {} + | sort -hr | head -n 50
This command helped me identify the 50 largest files on the system, bringing my disk usage down from 86% to 32%. Migrating images to the WebP format will reduce it further.
Even though this server only costs $5 a month, the trade-off is that I manage everything myself—from security to updates to troubleshooting. But that’s also the reward: I learn how every piece of the system works. And over time, it becomes second nature.
If you’re curious about running your own site on a VPS, this series is meant to show what it actually takes—not to scare you off, but to demystify it. I’ll continue publishing deeper guides to break down each part of the process.